Overview
Last week, we learned how to use plain text markup formats to create web content using HTML and Markdown. This week, we will take a small step back and discuss how markup languages also allow us to define “metadata” which is “data about data.” This concept allows us to not only define content, as we have already done, but to describe that content in ways that are meaningful to both humans and machines.
In this chapter, we will learn:
- Definition of metadata
- How to define metadata in Jekyll
- How to define metadata in HTML
- Use-case for metadata: SEO
Definition of Metadata
Metadata provides information about data. The prefix “meta-“ means “about” when we use it English, so that should clue us into the term’s function. But what is data about data?
We encounter metadata surprisingly often as English majors. If you’ve ever used an analog card catalog at a library, that is an example of metadata. It provides us with facts about the book: where it is on the shelf, how many pages it has, and so on.
Similarly, the copyright page at the front of any book you might own contains metadata. At a minimum, that page lists who owns the rights to the book, when it was first printed, when the current edition was printed, who printed the book, where it was printed, and also the Library of Congress information.
LOC information lists categories that describe the book and also list a physical description, including numbers of pages and hard or soft cover, as well as the size of the book and the number of illustrations, if any.
All of this is metadata, you just didn’t know that term for it!
Rather than telling us what the book is about, or passing along the facts it contains, it describes the book to us: what it looks like, where to find it, how it relates to other books.
In digital systems, we can use plain text standards (we will be using YAML, HTML, and RDFa today) to similarly describe our data. Your operating system keeps metadata about files, as well. If you right-click (or control-click on macOS) on any file in your Explorer or Finder interface, you can find information about files, including who edited it, when it was last edited, when it was created and other things like who has permission to change the file.
Most data on computers today have some kind of metadata associated with it. This chapter will teach you how to leverage this convention to better index and organize your digital writing!
Defining Metadata in Jekyll
We have already encountered metadata in Jekyll, which makes extensive use of the idea. Each of your posts, as well as the HTML files we have created, begin with a set of three dashes, like so:
---
title: "New Post"
layout: post
---

Hey, blog!
The technical term for the content between the two sets of three hyphens is a “YAML metadata block,” it lets Markdown documents contain information about the post that is not directly produced in the post itself. This is metadata.
Jekyll uses a convention that has developed around Markdown of including YAML information at the start of the document to describe more information about the contents. In the above post, we are setting the layout value for the page as well as the page’s title.
Important Note About Metadata in Jekyll
Any file not in a hidden folder (one that starts with _) that includes a YAML metadata block will be processed by Jekyll. Any files that do not contain metadata will be passed directly to output, unchanged.
This is important if, for some reason, you wanted to share a Markdown file on your site but you did not want it to become HTML. If we created the following file:
# Title

This is some **Markdown** Content

* List
* Items
* Are
* Cool
When we clicked on the link, our browser will try to download the file. This perhaps odd behavior is because GitHub Pages does not know what to do with the .md file we have asked it to give to us, so it offers it as a download. Odd, but expected.
Similarly, if we could create the following HTML page:
<h1>Title</h1>
<p>This is some <strong>HTML</strong> Content</p>
<ul>
<li>List</li>
<li>Items</li>
<li>Are</li>
<li>Cool</li>
</ul>
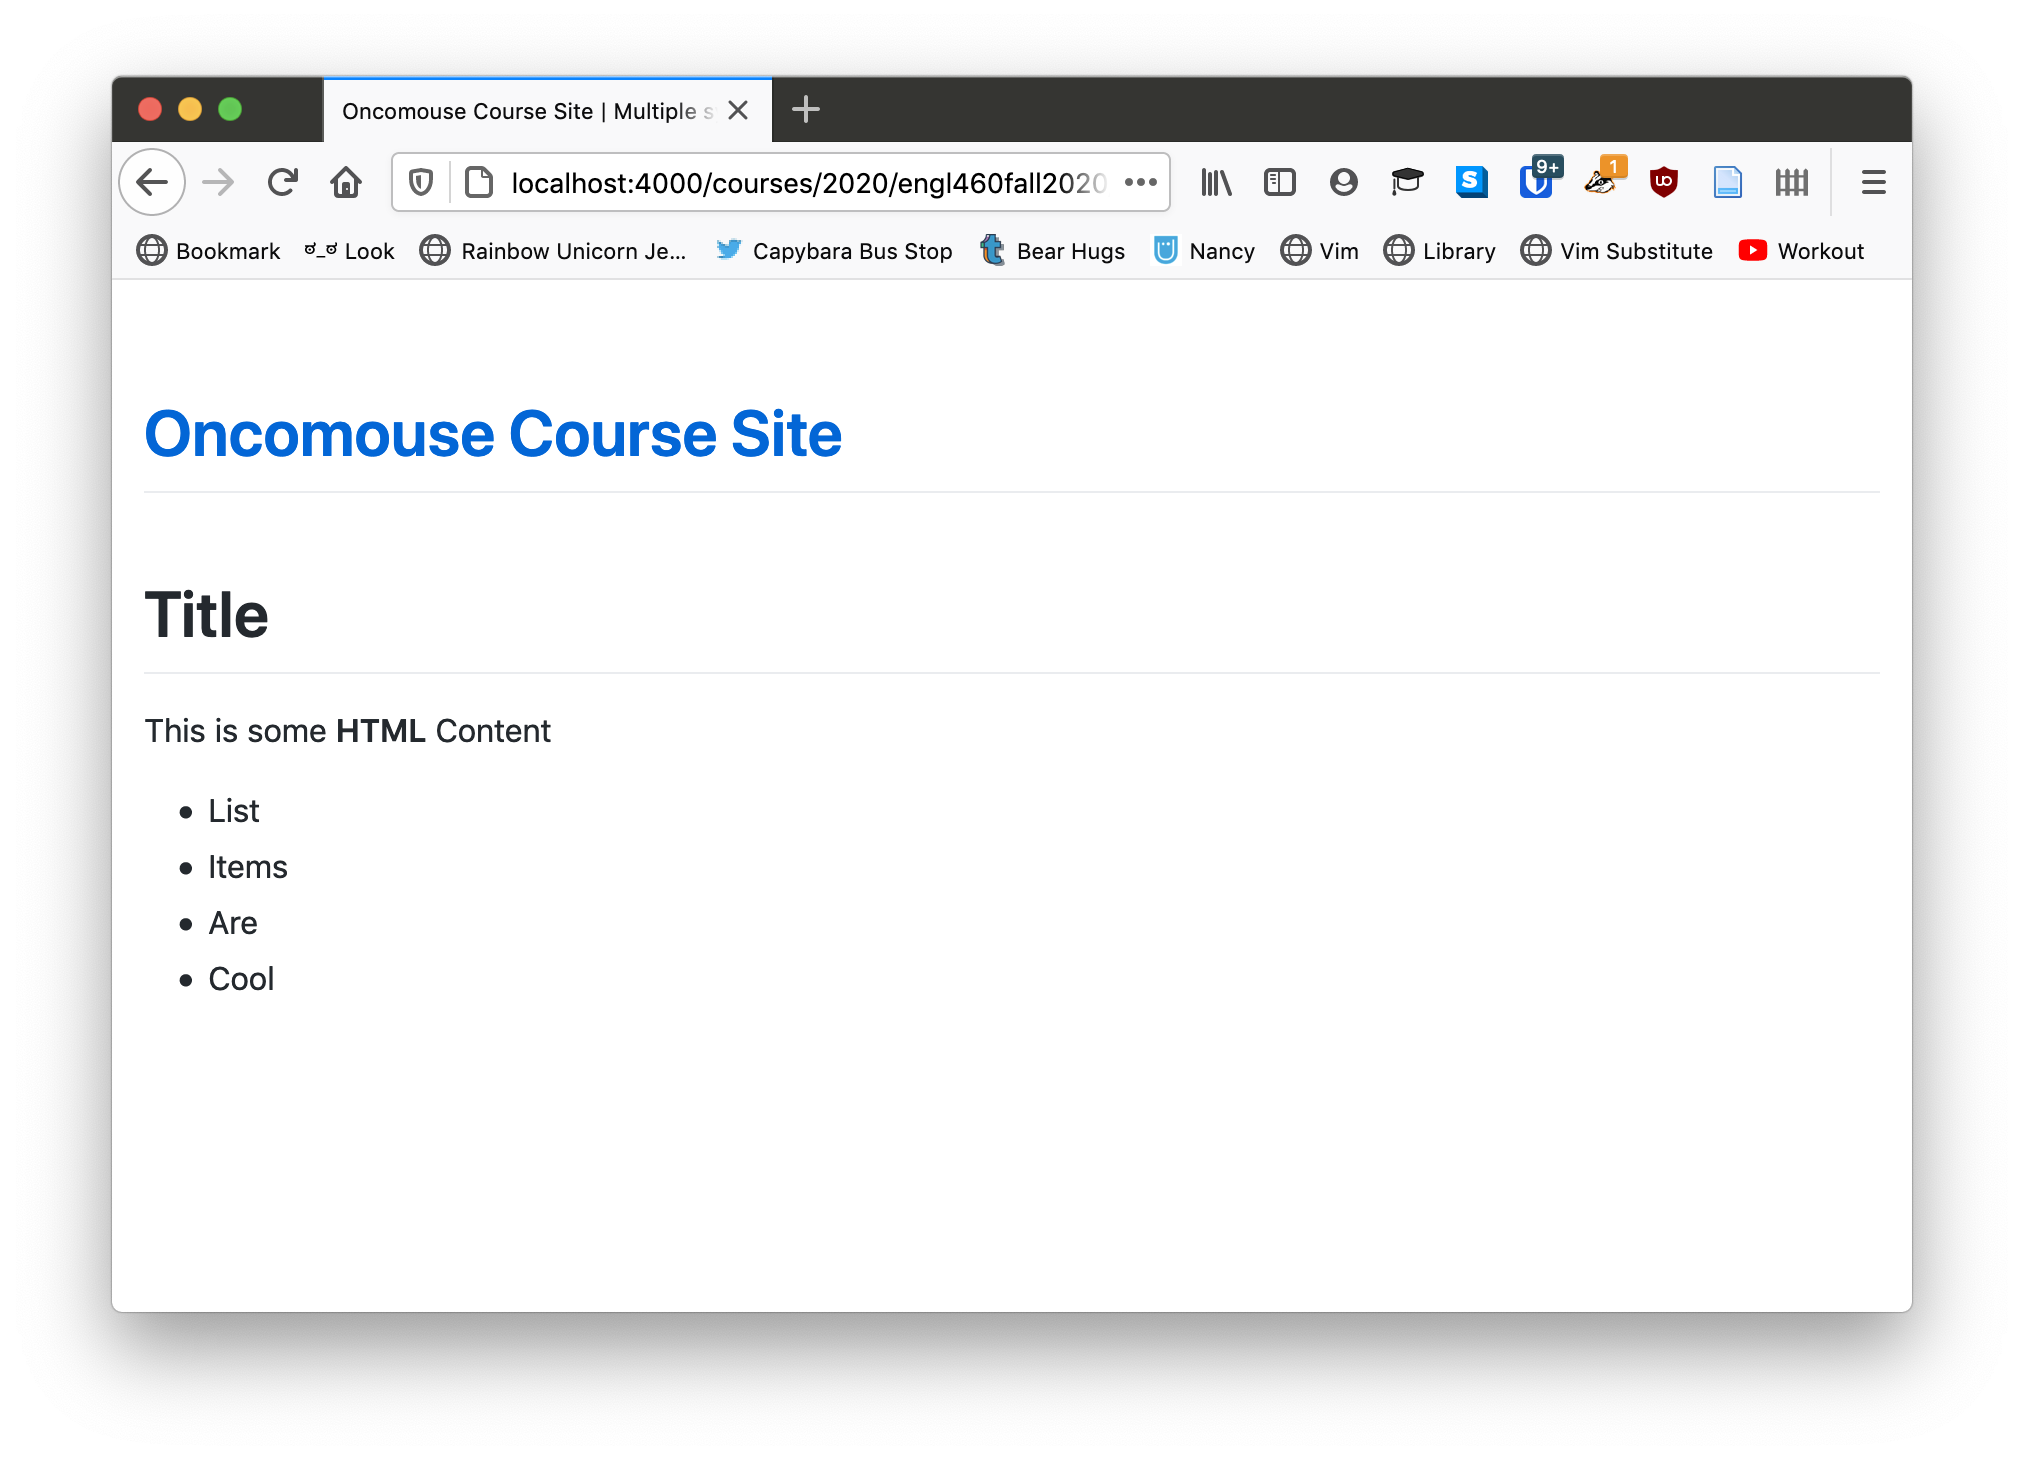
If we click that link, we see a very rough looking HTML page, but we do see HTML. This is because, while there is no metadata defining a layout, the file is still HTML, which GitHub Pages understands.
---
---
<h1>Title</h1>
<p>This is some <strong>HTML</strong> Content</p>
<ul>
<li>List</li>
<li>Items</li>
<li>Are</li>
<li>Cool</li>
</ul>
If we click that link, we see the same rough HTML page. Jekyll is aware of the site, but it provides no formatting. See Setting Jekyll Defaults below for more information on how we might fix that.
Another Metadata Example in Jekyll
On the course blog, I use some more metadata to categorize your semester recap posts. Here’s an example:
---
title: "Recap Post"
author:
	name: oncomouse
	url: "https://oncomouse.github.io"
categories:
- recap
- fall2020
layout: post
---

Content of the recap post.
We have already encountered YAML before, but to refresh,
Site-wide Metadata for Jekyll
When we first created our blog, we created the _config.yml file. This file is known as the site-wide metadata file for our Jekyll site. Where metadata headers set information for a particular page, _config.yml sets metadata for the whole site. This is how we can set both a title key in _config.yml and in our individual blog posts.
Setting Jekyll Defaults
When we made the third example file, the one with the empty YAML metadata block, in the previous example, the file still did not have a layout because of the empty metadata block. Thankfully, we can use our site-wide metadata to configure defaults that deal with just this situation.
The defaults key in _config.yaml sets default values for the site. It is a list of dictionaries that control defaults for different parts of the site.
To fix our earlier problem, we can add the following code in our _config.yml:
defaults:
  -
    scope:
	  path: ""
      type: "pages"
    values:
      layout: "default"
When we reload the third example, we see:
While, if we load the second example, we still see the same unstyled, rough HTML page. This difference occurs because, even without any metadata information in its YAML block, the third example page is “managed” by Jekyll. Once we define site-wide default values in _config.yml, the managed page acquires those default values. If we add values to the YAML block in example three, say changing layout to post, we “override” the default with the new settings. YAML blocks always override default values set in _config.yml.
Setting a Default Layout for Blog Posts
Some of you have had problems with the layout on your blog, or are maybe getting sick of always having to remember to add layout: post (or layout: default depending on your theme). Using some YAML markup similar to what we saw above, you can add a default layout to blog posts.
Consider this:
defaults:
  -
    scope:
	  path: ""
      type: "pages"
    values:
      layout: "default"
  -
    scope:
	  path: ""
	  type: "posts"
	values:
	  layout: "post"
We add a second value to the defaults list that has a different scope and a different values. Scope refers, in computing, to the applicability of a setting. In the first entry in defaults, we scope our settings to "pages", which is any page we build. In the second entry, we scope the settings to "posts". You can read more about these and more settings in the Jekyll documentation.
Defining Metadata in HTML
HTML also has the ability to define metadata. When we first learned about HTML, we talked about how an HTML document is first defined by <html> but then subdivided into <head> and <body> tags, such that we have an HTML document that looks like this:
<!doctype html>
<html>
	<head>
	</head>
	<body>
	</body>
</html>
I added another tag there, the <!doctype html> tag. This is our first piece of metadata; it tells the browser that this is an HTML document, so that the browser does not have to guess we are giving it an HTML file. Then, we have our <html>, <head>, and <body> tags.
We have also already seen one HTML tag that supplies metadata: <title>:
<!doctype html>
<html>
	<head>
		<title>Our Document</title>
	</head>
	<body>
	</body>
</html>
This tag tells the browser that the HTML document we are defining here is titled “Our Document.” The <title> tag predates the understanding of metadata as important to HTML, so it is defined differently than most pieces of metadata.
For non-title metadata, we use the <meta> tag. So, if we wanted to add the author’s name and a description to our page, we could type the following:
<!doctype html>
<html>
	<head>
		<title>Our Document</title>
		<meta name="author" content="Andrew Pilsch">
		<meta name="description" content="An example page, showing how to define metadata in HTML">
	</head>
	<body>
	</body>
</html>
This shows the way the majority of <meta> tags will be defined, with name and content attributes. You can think about these as analogous to keys and values in the dictionaries we have been defining in YAML files.
Other Important <meta> Tags
You can define any meta tag you want, but there are a few meta tags that are, if not outright required, really helpful to have in your document.
🚨Setting Character Encoding🚨
You can use meta tags to set the character encoding in your document. Remember when we talked about the strange history of plain text and how ASCII, the first character encoding set, didn’t define characters used in non-English languages? And instead, a new standard, UTF-8, was defined? And this is how we got emoji?
In case you don’t, UTF-8 is a format for storing plain text on your computer that allows you to store and display characters from non-English languages, such as accents (é), non-Latin alphabets (磨), emoji (🔥), or a variety of other fun characters. UTF-8 is important:
If your webpage were not configured for UTF-8, none of those characters would display. And that would make Dr. Pilsch very angry:
(ノಠ益ಠ)ノ彡┻━┻
Unless you have a very compelling reason not to, always include <meta charset="UTF-8"> somewhere in the <head> of your HTML documents.
Make Sure It Looks Good On Your Cellphone
I’m going to break from my habit, in this text, of trying to explain why we do things in this section. Because this section teaches you something important for designing for the web in the 21st century, where lots of web traffic is on mobile phones, and because the explanation is not particularly interesting, I am going to just give you a rule:
To make sure websites display correctly on mobile phones, make sure you always have <meta name="viewport" content="width=device-width, initial-scale=1"> in the <head> of your HTML document.
You may someday encounter a reason to change this tag, but you really need it for websites to work on your mobile phone.
Keywords
To help make your site more discoverable by search engines, which we’ll talk about more in “Metadta for Search Engines” below, you can use the keywords meta tag, though most search engines ignore them these days, because people try to game the search algorithm.
The keywords meta is a comma-separated list of words or phrases that describe your website. You can set it like this:
<meta name="keywords" content="meta data, html, html meta data, using meta data, writing meta data">
This tag can help your site be better indexed on the larger web.
Metadata for Search Engines
We have already mentioned search engine optimization (SEO), the process of growing web content by trying to increase the visibility of a site in a search engine’s results. This field is very broad, but in this section I want to focus on making content better at being shared on social media sites, mainly Twitter and Facebook.
When you share a link on Facebook or Twitter, most times, the site pops up with a nice preview, including an image and some description of the content. Here’s an example from Twitter:

And one from Facebook:

Both of these examples are generated because the sites being shared implement the two metadata standards Twitter and Facebook have developed to describe content to their sites. Twitter’s standard is Twitter Card; Facebook’s is Open Graph.
An Open Graph Example
Let’s define some metadata!
Open Graph is the standard for making things discoverable on Facebook. The standard defines a lot of tags for describing web documents. If we wanted to add Open Graph information to a blog post, we could add the following <meta> tags to the <head> of the post:
<meta property="og:type" content="article">
<meta property="og:author" content="Andrew Pilsch">
<meta property="og:title" content="First Post">
<meta property="article:published_time" content="2020-09-01T14:11:00-06:00">
<meta property="og:image" content="https://example.com/ogp.jpg">
<meta property="og:image:alt" content="The content of this article, illustrated.">
We have to reproduce our <title> and <meta name="author" ...> tags for Open Graph and we use the property attribute instead of the name attribute. There are reasons for this that have to do with the fact that Open Graph is actually an RDFa standard, not an HTML standard, but you don’t need to worry about that.
The og:type property is set to article because, within Open Graph’s list of types, article is the closest to a blog post.
Additionally, the og:image property links to the image that will appear as a preview when Facebook shares our page.
To do this for Twitter, we would have to add a set of additional tags.
“Isn’t This, Like, Just the Worst?”
To answer the question posed in this section’s header, “yes, yes it is.” Having to add all of this metadata to every, single post we wrote and every single page we built is a gigantic pain. This is why we use a site-builder like Jekyll (or why you might use something like Wordpress to run a blog in a different context; or a site builder like Weebly). Layouts allow us to define SEO tags like Open Graph or Twitter Card once and then have them added to every page we build.
Even easier, GitHub Pages, has, by default a plugin called jekyll-seo-tag, which will automatically generate these tags for every page on your site. If you want to make sure, look in your template’s default layout file for the line {% seo %}. This is the line that tells Jekyll to add Open Graph, Twitter Card, and other discovery-oriented tags to your site.
Most of jekyll-seo-tag is configured by a page’s YAML metadata block or by the site metadata (_config.yml), so take a look at the usage documentation for jekyll-seo-tag to see more about adding this information to your site.
Conclusion
Metadata represents an important way to describe the content of your document and to make it easier for your users to find your content. Jekyll provides a number of ways to add more information to your site, and automates much of the tedious process of adding this information to your site.
For this week’s activity, we will be experimenting with metadata on our sites!