This week, we’ll put our new-found knowledge of CSS to use.
But first, let’s make our Jekyll site a bit more fancy.
Adding an About Me Page
Back in Week 5, you created an About Me page. How could we add that to our site?
Here was mine:
This page is about me!
Here's a picture I took:

This video gets me:
<iframe width="560" height="315" src="https://www.youtube.com/embed/D__6hwqjZAs" frameborder="0" allow="accelerometer; autoplay; encrypted-media; gyroscope; picture-in-picture" allowfullscreen></iframe>
To post it on my Jekyll site, I can create a new file, called me.md and save it in a folder I’ve created in my Jekyll repo called about. If I fire up my Jekyll server, I can see a properly rendered HTML page from my Markdown (see what it looks like here). I can set the page’s title and layout using a YAML metadata block, by changing the contents to read:
---
layout: page
title: About Me
---
This page is about me!
Here's a picture I took:

This video gets me:
<iframe width="560" height="315" src="https://www.youtube.com/embed/D__6hwqjZAs" frameborder="0" allow="accelerometer; autoplay; encrypted-media; gyroscope; picture-in-picture" allowfullscreen></iframe>
I’m also going to move the default about page created when I created my Jekyll repo to my about folder, so I create /about/site.md and add the following:
---
title: About Site
---

This is the base Jekyll theme. You can find out more info about customizing your Jekyll theme, as well as basic Jekyll usage documentation at [jekyllrb.com](https://jekyllrb.com/)

You can find the source code for Minima at GitHub:
[jekyll][jekyll-organization] /
[minima](https://github.com/jekyll/minima)

You can find the source code for Jekyll at GitHub:
[jekyll][jekyll-organization] /
[jekyll](https://github.com/jekyll/jekyll)


[jekyll-organization]: https://github.com/jekyll
But how do I add this wonderful content to my site?
Site Theming With Jekyll
Some of you may have already changed the theme of your Jekyll blog. If you haven’t (and you want to), on the “Settings” page of your repository, under the “GitHub Pages” heading, you will find an option for “Theme Chooser.” There are a few options available, so pick one that you like.
If you did change your theme, you’ll notice a new line in your _config.yml file:
#
# This file contains configuration flags to customize your site
#
# Name of your site (displayed in the header)
title: Dr. Pilsch's Blog
# Short bio or description (displayed in the header)
description: This is my blog

#
# !! DON'T EDIT BELOW THIS MESSAGE
#
# Use the following plug-ins
plugins:
  - jekyll-sitemap # Create a sitemap using the official Jekyll sitemap gem
  - jekyll-feed # Create an Atom feed using the official Jekyll feed gem

# Exclude these files from your production _site
exclude:
  - Gemfile
  - Gemfile.lock
  - LICENSE
  - README.md
  - CNAME

theme: jekyll-theme-cayman
That last line is where GitHub pages changes your theme. It is adding a new key (theme) to the dictionary described by _config.yml. I set mine to “cayman” in the example above.
If you have not changed your theme, you are using a theme called “primer.”
The GitHub user “pages-themes” is the account from which GitHub manages the themes available in Pages. If you go to their user page, each theme will be linked. The repository contain the rudimentary Jekyll sites that template our sites.
If we want to add our links somewhere on our site, we have to tell Jekyll to use an updated version of the template that is in our repository instead of user page-theme’s repository.
This process can be a bit tricky and involves some research, so I’m going to show you how to do this for the primer theme and then I’ll challenge you to do it on your own site.
Note on Hidden Folders in Jekyll
We’ve already seen the _posts folder when we create blog posts. Some of you may have had problems with creating posts in the posts folder, instead, and wondered why they didn’t show up. The underscore (_) tells Jekyll that a folder is hidden, which means it is not intended to show up on your website when Jekyll builds it.
If you had a file called _about.md in the root directory of your repository, you would not find a page called _about.html on your site after it builds. This happens because Jekyll ignores the hidden file.
_posts is a special hidden folder that Jekyll knows will contain our blog posts. That is why post files have to be named using the YYYY-MM-DD-slug.md format. It is the naming convention Jekyll expects for files in that special folder.
Two other important special hidden folders, for the purposes of our exercise today, are _includes and _layouts. We have already encountered the contents of the _layouts folder. Every time you set layout: post in a blog post or layout: default in a page, you are telling Jekyll to look in the _layouts folder of your Jekyll site for a file named either post.html or default.html. These are where Jekyll’s layout templates live.
Finding Layouts for Your Site
“But, Dr. Pilsch,” I hear you say, “I don’t have a _layouts folder in my blog repository!”
That’s right, student who is somehow speaking in my head. You don’t have a _layouts folder in your blog repository. Yet, you still can use its contents!
When Jekyll finds a line like theme: jekyll-theme-cayman in your _config.yml (or absent one, uses the theme primer), it looks for the GitHub repository of your theme (which is, as we saw above, https://github.com/pages-themes/primer for primer) to find any layout files it might include.
Thus, we can visit our theme’s repository to see what it is using. There’s a GIF below showing me visiting the primer repository:

If we open the _layouts folder, we see the following files:
default.htmlhome.htmlpage.htmlpost.html
If we click on default.html, we get a fairly long chunk of HTML including the {{contents}} line we talked about earlier. Here it is:
<!doctype html>
<html lang="{{ site.lang | default: "en-us" }}">
  <head>
    <meta charset="utf-8">
    <meta http-equiv="x-ua-compatible" content="ie=edge">
    <meta name="viewport" content="width=device-width, initial-scale=1">

{% seo %}
    <link rel="stylesheet" href="{{ "/assets/css/style.css?v=" | append: site.github.build_revision | relative_url }}">
  </head>
  <body>
    <div class="container-lg px-3 my-5 markdown-body">
      {% if site.title and site.title != page.title %}
      <h1><a href="{{ "/" | absolute_url }}">{{ site.title }}</a></h1>
      {% endif %}

      {{ content }}

      {% if site.github.private != true and site.github.license %}
      <div class="footer border-top border-gray-light mt-5 pt-3 text-right text-gray">
        this site is open source. {% github_edit_link "improve this page" %}.
      </div>
      {% endif %}
    </div>
    <script src="https://cdnjs.cloudflare.com/ajax/libs/anchor-js/4.1.0/anchor.min.js" integrity="sha256-lzarhkri35ayjsypxxs4o6opftbtmuoltbbdcbdzegg=" crossorigin="anonymous"></script>
    <script>anchors.add();</script>
    {% if site.google_analytics %}
    <script>
      (function(i,s,o,g,r,a,m){i['googleanalyticsobject']=r;i[r]=i[r]||function(){
      (i[r].q=i[r].q||[]).push(arguments)},i[r].l=1*new date();a=s.createelement(o),
      m=s.getelementsbytagname(o)[0];a.async=1;a.src=g;m.parentnode.insertbefore(a,m)
      })(window,document,'script','//www.google-analytics.com/analytics.js','ga');
      ga('create', '{{ site.google_analytics }}', 'auto');
      ga('send', 'pageview');
    </script>
    {% endif %}
  </body>
</html>
Now, if we look at any of the other three files, we see the same contents in each:
---
layout: default
---
{{ content }}
Home, page, and post all look the same because, in Jekyll, layouts can have layouts too. So, we can conclude from this that default is the most important file in our structure of layouts.
Not all themes do it this way, you will need to check your theme’s _layout folder.
Overriding Layouts
Remember earlier when I told you that if a file is not found in your blog’s repository, Jekyll checks in the theme’s repository. If, however, the file is present in your repository, Jekyll will use your copy.
This behavior is how we are going to add our about page to our blog.
Again, remember that I am doing this for the default primer theme. If you are using a different theme, doing this will be slightly different. To do this, we need to create a new file called _layouts/default.html on our blog repository.
Copy the contents of _layouts/default.html from primer and paste it into the editor on GitHub. Now, we can edit the file. Looking at the source code, we can see that Primer is pretty minimal (which is why it’s the default and why a lot of you changed your theme).
I see three places we could place our content:
<!-- Could put it here -->
    <div class="container-lg px-3 my-5 markdown-body">
<!-- Could also put it here -->
      {% if site.title and site.title != page.title %}
      <h1><a href="{{ "/" | absolute_url }}">{{ site.title }}</a></h1>
      {% endif %}
<!-- Could also put it here -->
      {{ content }}
Those <!-- and --> define HTML comments, which lets us add information to our source code without it being displayed to users. This is how developers document the behavior of their markup or programs. Or, at least, its how good developers should behave.
We could place our content outside of the <div> that contains our content, inside that <div>, or after the <h1>. This decision will matter a lot more in two weeks when we talk about styling content, but, for now, I’m going to place my navigation below the title.
    <div class="container-lg px-3 my-5 markdown-body">
      {% if site.title and site.title != page.title %}
      <h1><a href="{{ "/" | absolute_url }}">{{ site.title }}</a></h1>
      {% endif %}
	  <nav>
		<ul>
			<li><a href="/about/site.html">About This Site</a></li>
			<li><a href="/about/me.html">About Me</a></li>
		</ul>
	  </nav>
      {{ content }}
I’ve wrapped my navigation in the <nav>, a semantic tag meant to indicate a navigation menu. Additionally, I am using a <ul> tag because it has become convention (and there accessibility reasons why) to use lists for managing the content of navigation menus. We will talk later in the class about how, for instance, we can use the nested nature of lists to build interactive drop-down menus. Each <li> tag contains an anchor tag (<a>) with a link to the about pages I created in the last exercise and a description of the link.
That’s it! I commit my changes, wait for my site to build, and I have a very basic navigation menu on my site. I could add a link to the home page, too, if I wanted and add a nested “About” menu:
    <div class="container-lg px-3 my-5 markdown-body">
      {% if site.title and site.title != page.title %}
      <h1><a href="{{ "/" | absolute_url }}">{{ site.title }}</a></h1>
      {% endif %}
	  <nav>
		<li><a href="/">Home</a></li>
		<li>About
			<ul>
				<li><a href="/about/site.html">About This Site</a></li>
				<li><a href="/about/me.html">About Me</a></li>
			</ul>
		</li>
	  </nav>
      {{ content }}
Make It Fancy
Ok, so that’s cool! But what if, unlike in Primer, I had multiple layouts and needed to add the menu to each of them? Or, another scenario, say it’s several years later and I need to add something to my navigation menu. I can’t remember where I defined it! Drat!
These two scenarios are examples of why Jekyll also has an _includes special hidden folder. The includes directory lets you define something called “template partials” which are bits of HTML code that can be included in other files. On the syllabus, for instance, the schedule is generated using an included file.
This may not seem like the most useful thing in the world, but having strong file organization game, with clearly labelled files that have clear functions is the key to building maintainable digital projects. Having to fix someone else’s poorly documented, badly organized code is one thing, but, and I say this from much experience, having to fix your own poorly documented, badly organized website several years after you wrote might be the most frustrating thing I’ve ever done (more than once).
So, how do we get better at file organization?
In this situation, we have just created a navigation menu which is a prime candidate for the sorts of things people put in include files.
Let’s create a new file on our GitHub repository called _includes/navigation.html. In it’s contents, we can paste the following HTML, which had previously added to our _layouts/default.html file:
<nav>
  <li><a href="/">Home</a></li>
  <li>About
  	<ul>
  		<li><a href="/about/site.html">About This Site</a></li>
  		<li><a href="/about/me.html">About Me</a></li>
  	</ul>
  </li>
</nav>
Committing those changes, we can edit our _layouts/default.html and replace that <nav> tag with the following:
    <div class="container-lg px-3 my-5 markdown-body">
      {% if site.title and site.title != page.title %}
      <h1><a href="{{ "/" | absolute_url }}">{{ site.title }}</a></h1>
      {% endif %}
	  {% include navigation.html %}
      {{ content }}
The {% and %} tags are from a language Jekyll uses called “Liquid”. But the line tells Jekyll “look in the _includes folder for a file named navigation.html. Replace this line with the contents of that file.” Which is exactly what Jekyll does!
Hooray, we have restored a bit of sanity to this chaotic world! All through the power of file management!
So Now We Have An Ugly Website
So now our site looks something like this:
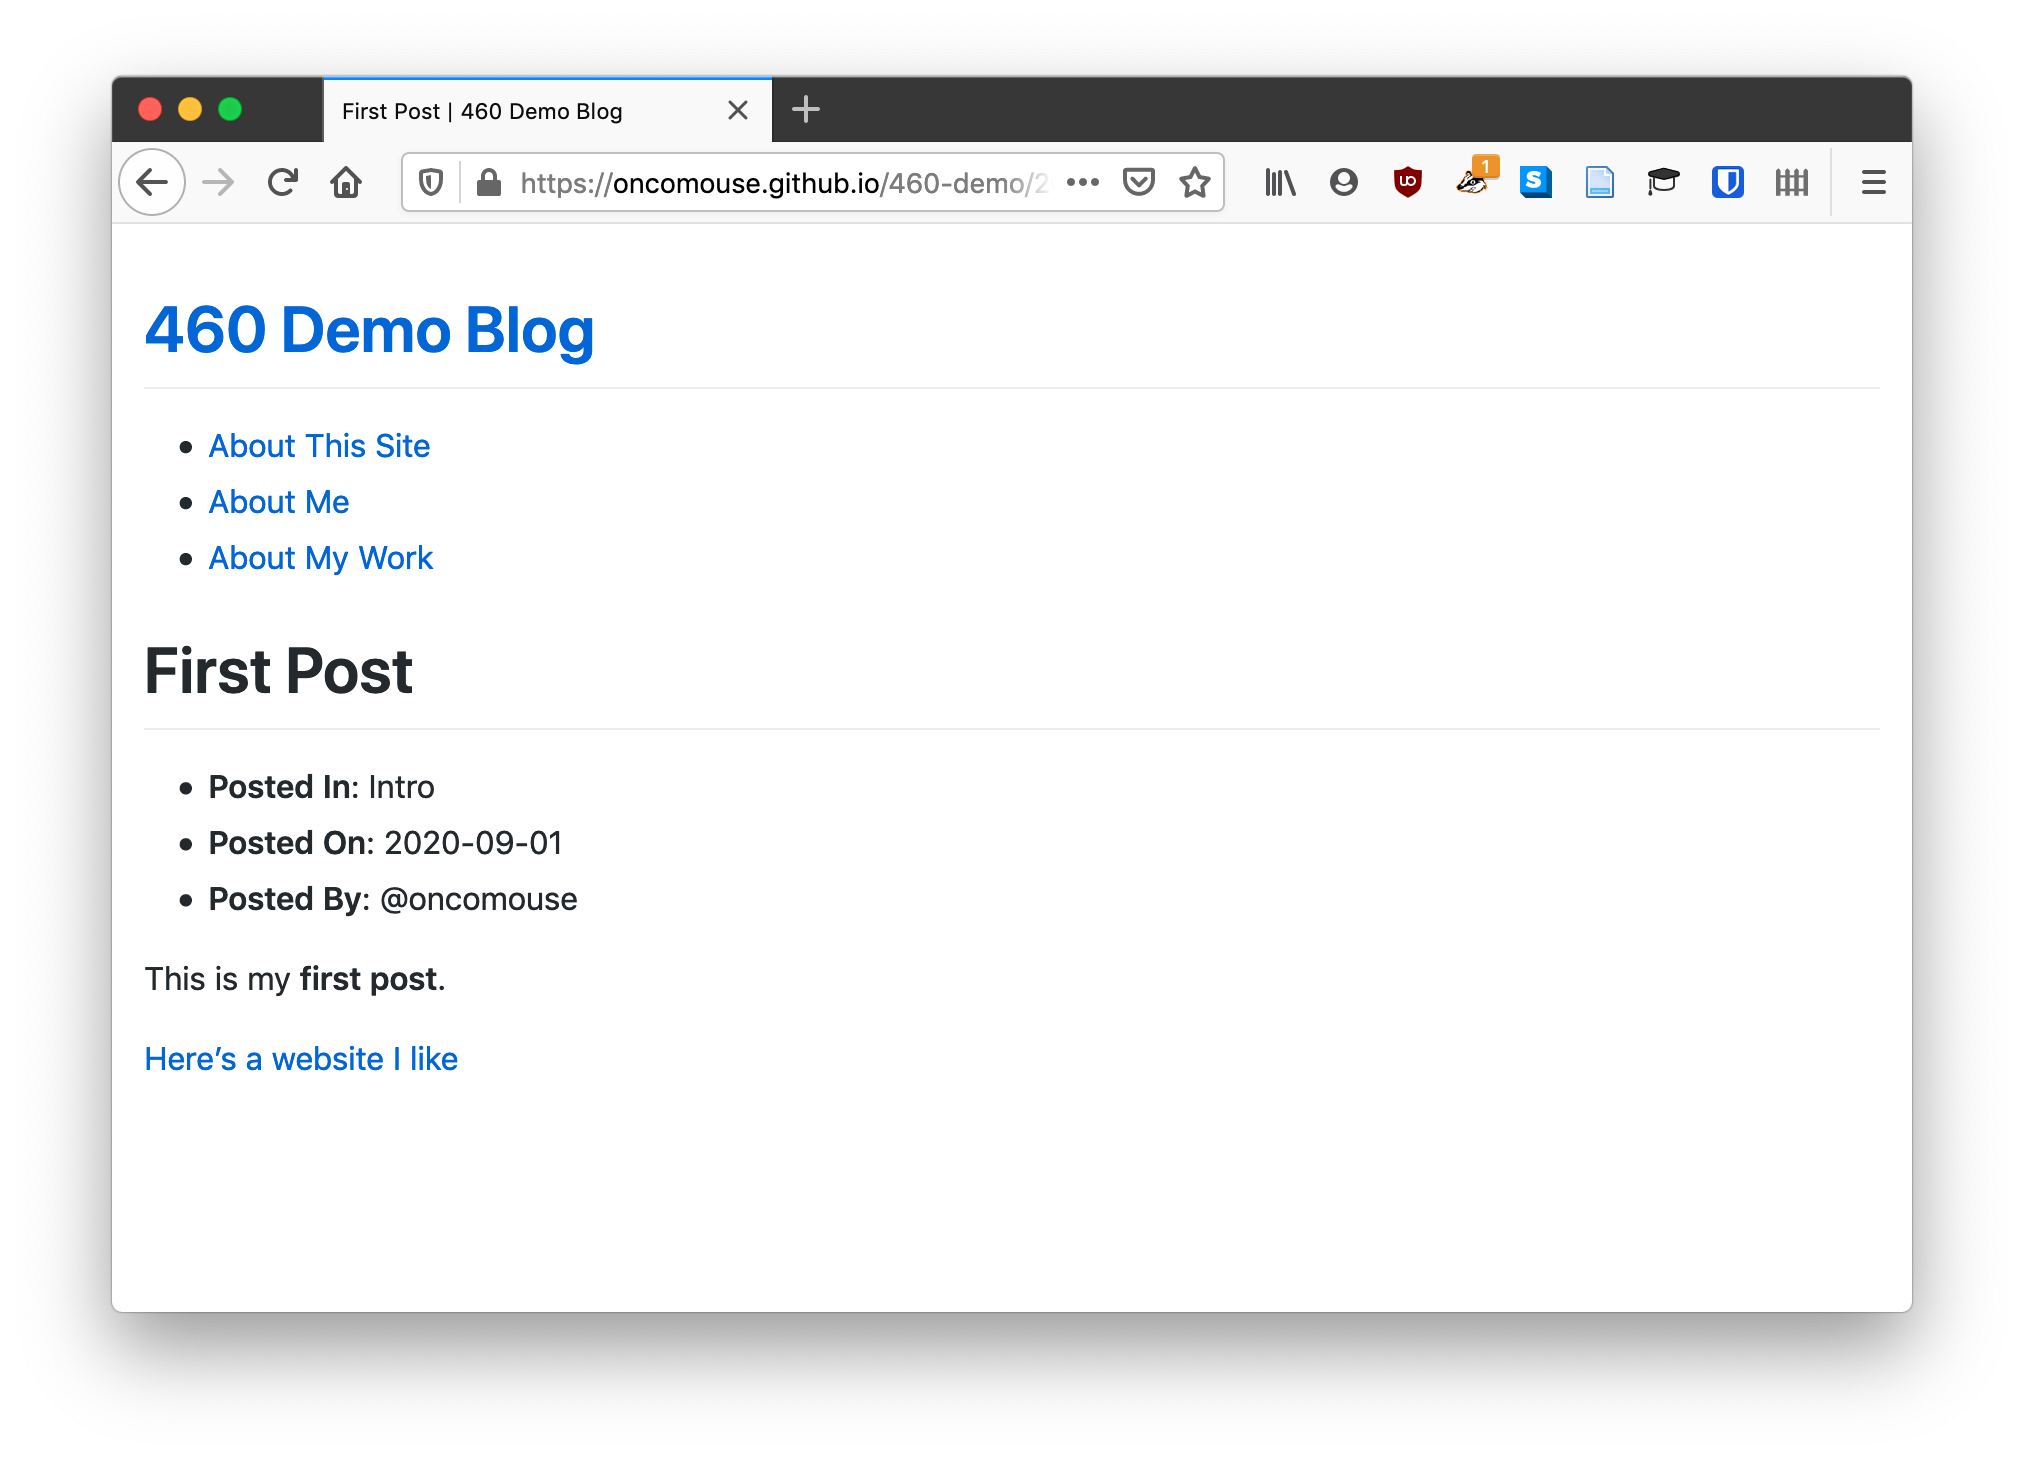
Which is not great. How can we make it look more like this?
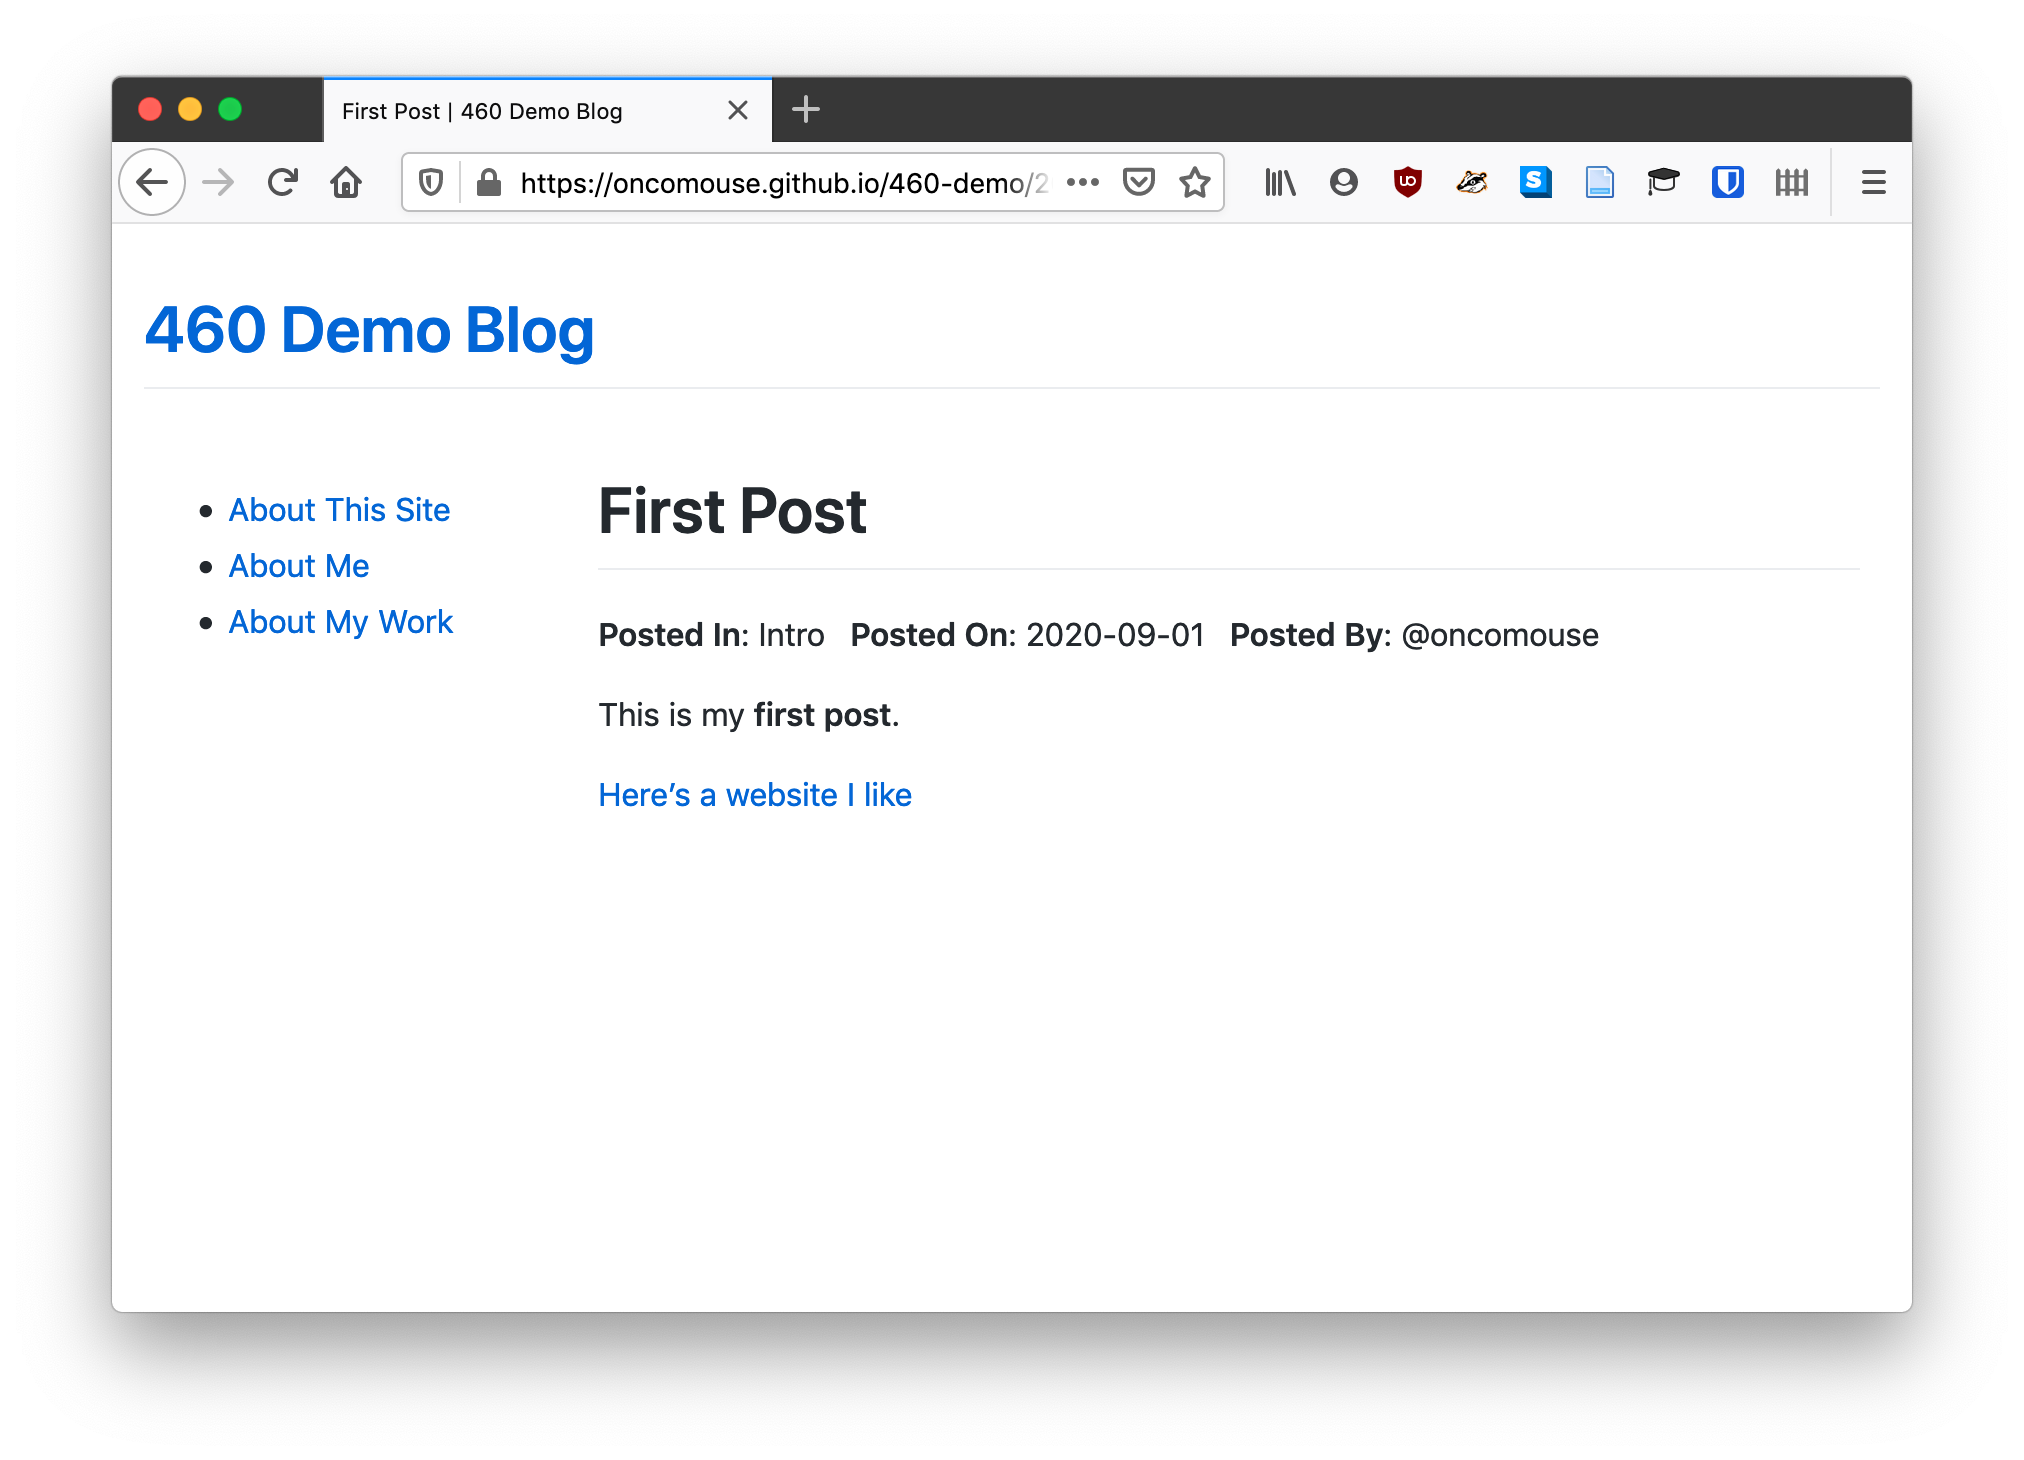
Or even this:
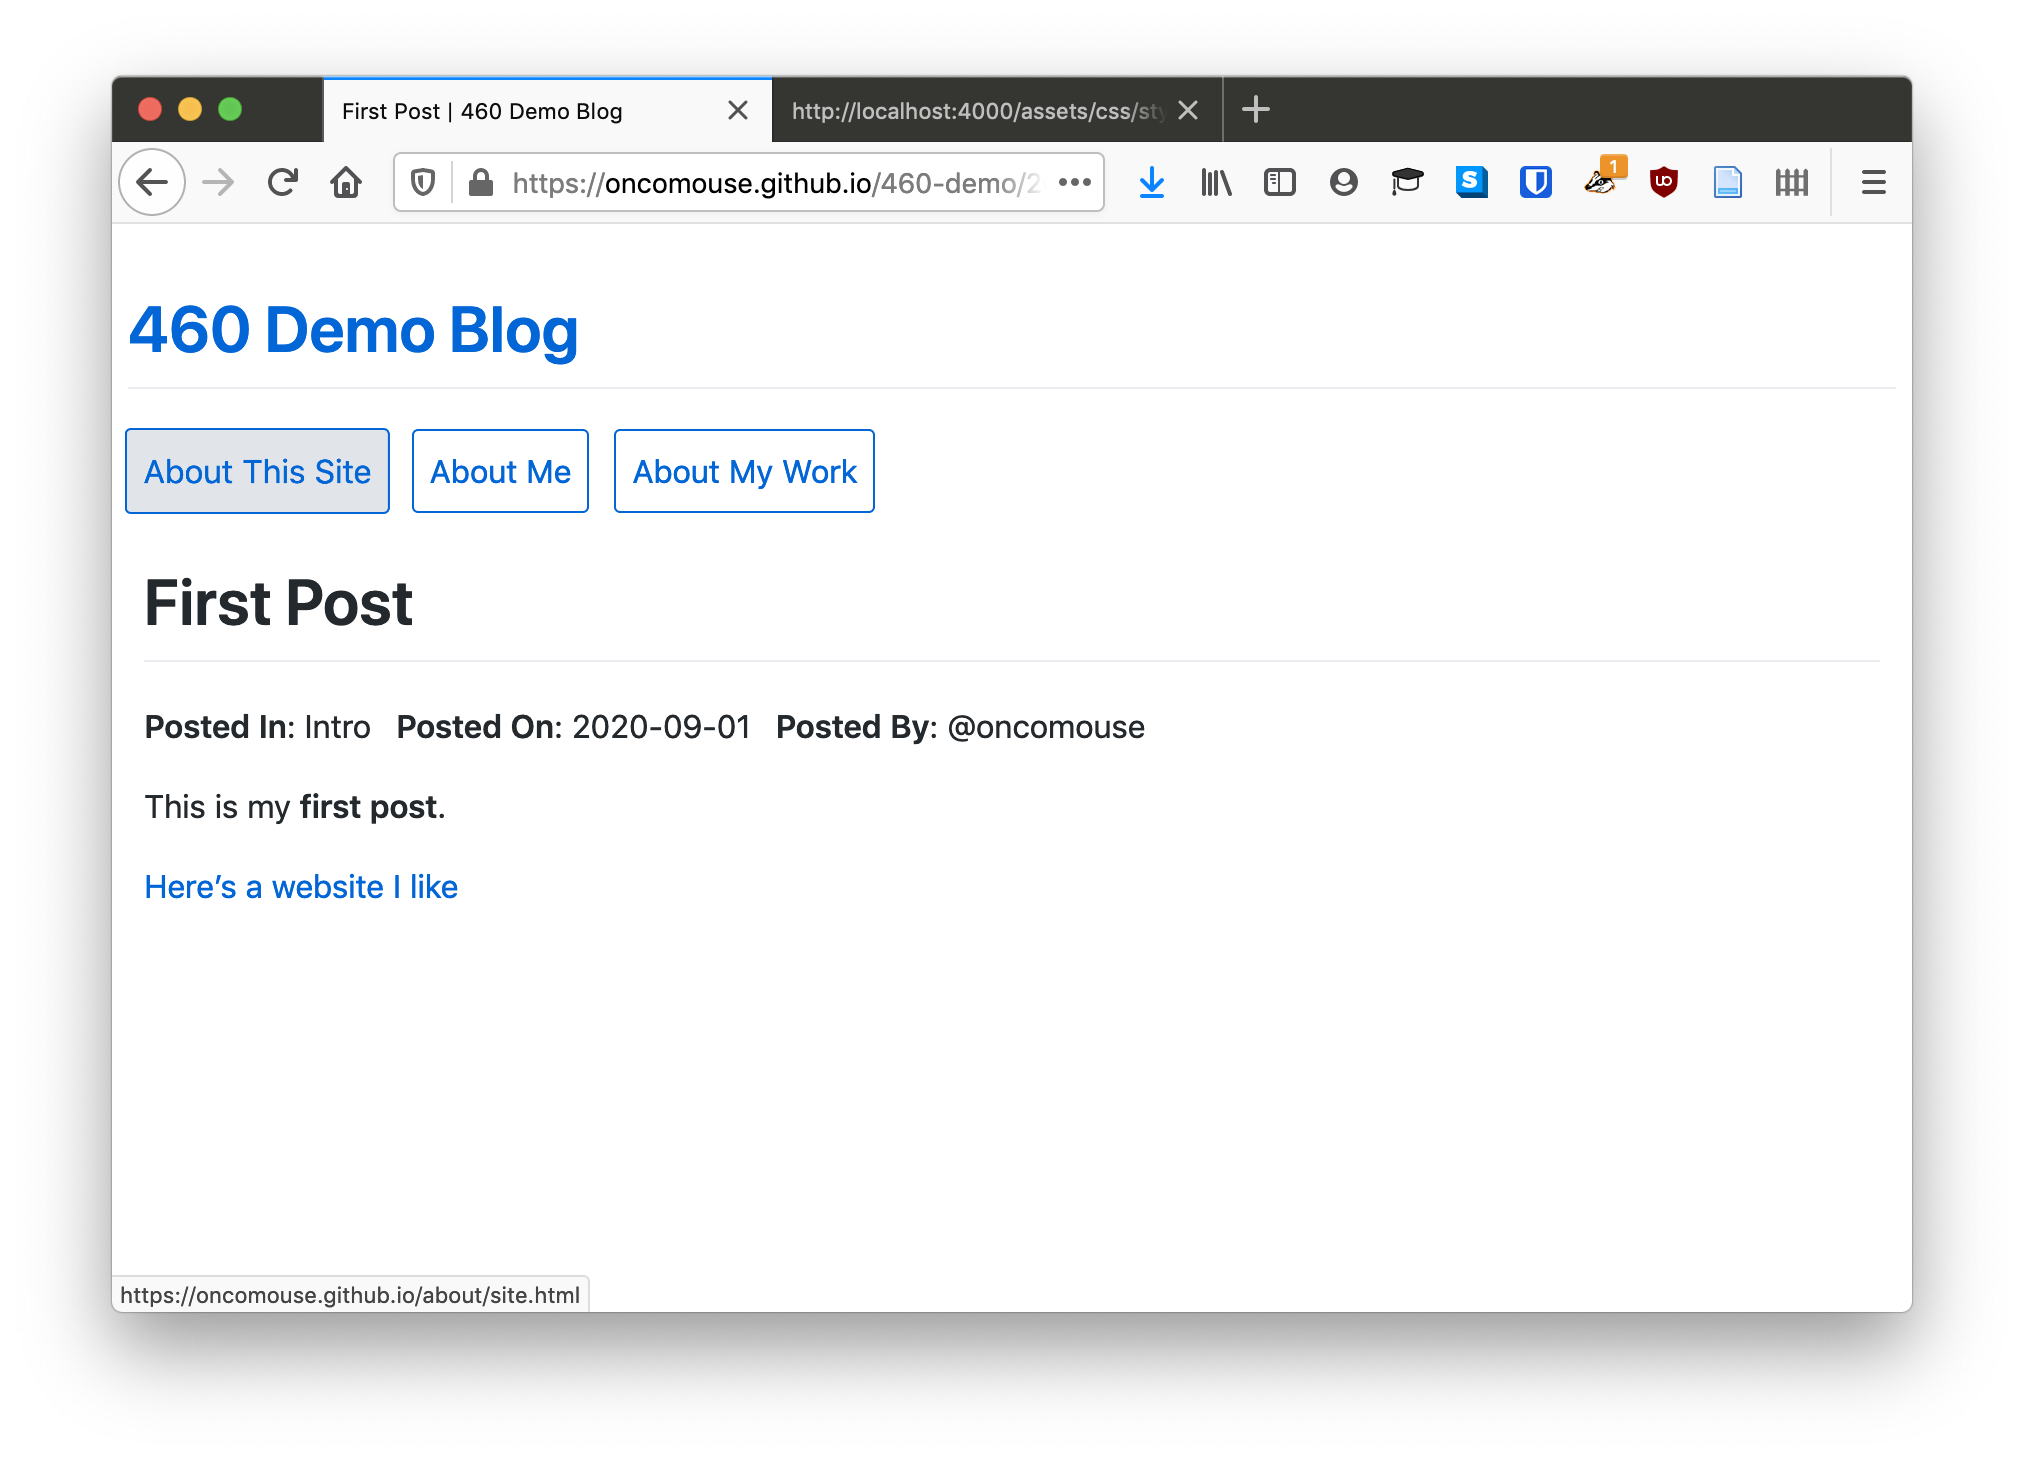
Both can be done with the built-in CSS classes in Primer.
Some CSS Properties to Look At
Make sure to look at the built-in themes for your theme before you start building new CSS content, but a couple of properties that will likely help are:
list-stylepaddingmarginborderborder-radiusdisplay(pay special attention to the part talking aboutinline-block, which you will definitely want to use for making<li>tags into things that work more like buttons)
Your Challenge for the Week
I am challenging you to start the process of styling your navigation menu and the categories display on your blog posts. See what you can come up with and write a blog post about your process!