Getting Started
This exercise will teach you how to create a basic blog using Jekyll and GitHub Pages
Before You Begin
- You will need a GitHub account for this tutorial
- Don’t have one yet? Click here
- You might also think about signing up for the Student Developer Pack
Creating Your Site
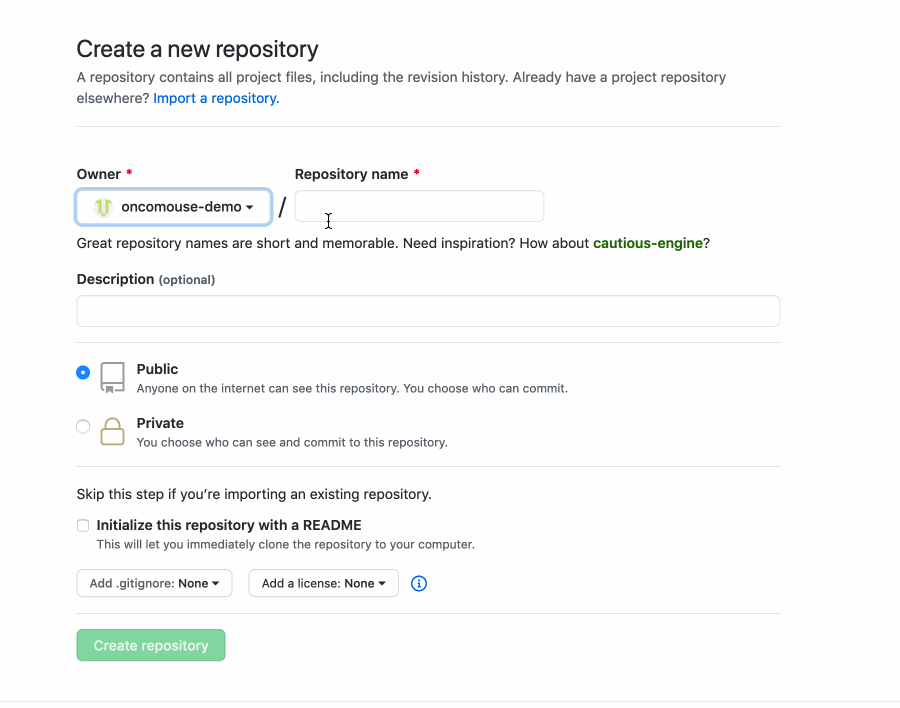
GitHub uses the concept of a repository to organize projects. GitHub “repos” have a lot of features not covered in this tutorial, but we will be creating our first repository for this project.
Visit http://github.com/new to create a new repo. When there, you will need to call your new repository <username>.github.io, where you replace <username> with your GitHub username. If your GitHub username was just_an_aggie, you would type just_an_aggie.github.io as your repository name. If your GitHub username was some_student, you would type some_student.github.io as your repository name.
Adding Initial Content
We have to create a few files before we can get started blogging:
Creating _config.yml
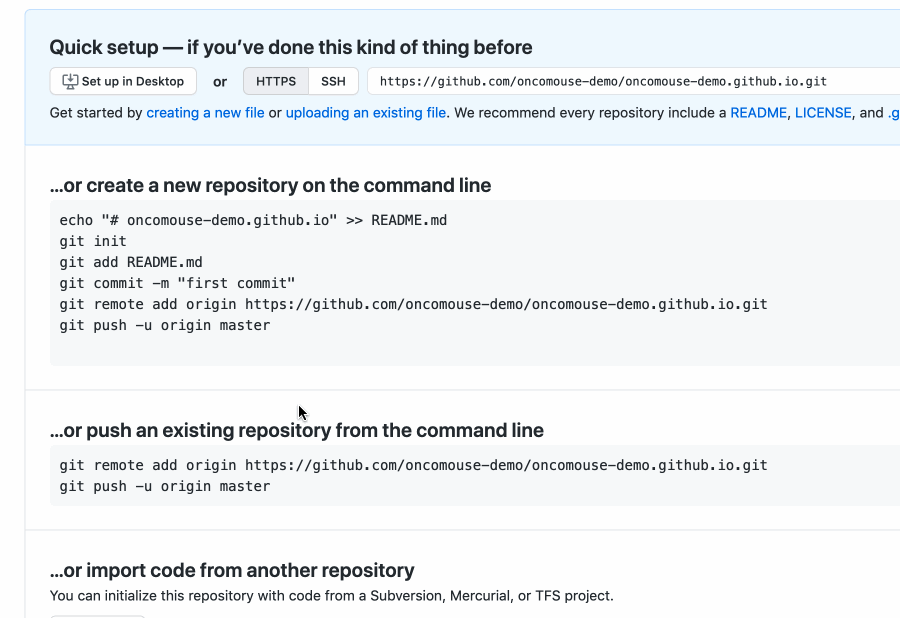
To create your first file, go to your repository (this is the page you should be on if you just created your repository).
Under the heading “Quick setup — if you’ve done this kind of thing before,” there is a link called for “creating a new file”. Click on that.
On the resulting page, in the box captioned “Name your file,” type _config.yml (make to include the underscore at the start of the filename).
Copy and paste the following code block into the file editor (to the right of the number 1 and below “Edit new file”).
#
# This file contains configuration flags to customize your site
#
# Name of your site (displayed in the header)
title: Site Title
# Short bio or description (displayed in the header)
description: A Blog

#
# !! DON'T EDIT BELOW THIS MESSAGE
#
# Use the following plug-ins
plugins:
  - jekyll-sitemap # Create a sitemap using the official Jekyll sitemap gem
  - jekyll-feed # Create an Atom feed using the official Jekyll feed gem

# Exclude these files from your production _site
exclude:
  - Gemfile
  - Gemfile.lock
  - LICENSE
  - README.md
  - CNAME
In the editor, where the file says title: Site Title, you can change “Site Title” to whatever you want your blog to be called. You can also edit description: A Blog to better describe your site. YAML is the file format used to configure your blog. Check out this tutorial if you would like to learn more.
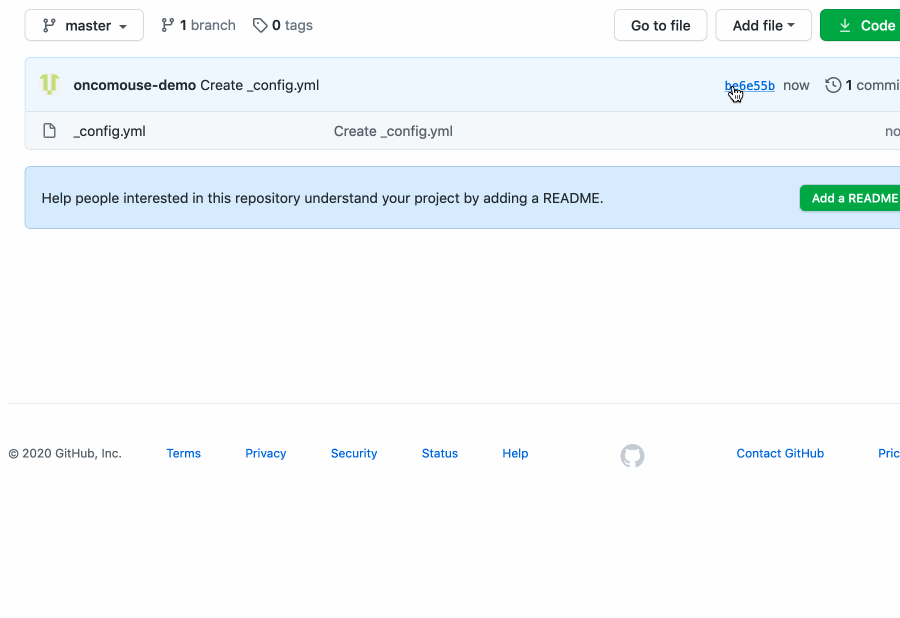
When you are done editing your file, scroll to the bottom of the page and click “Commit new file” to save your changes. “Commiting” is the fancy GitHub lingo for saving files to your repo.
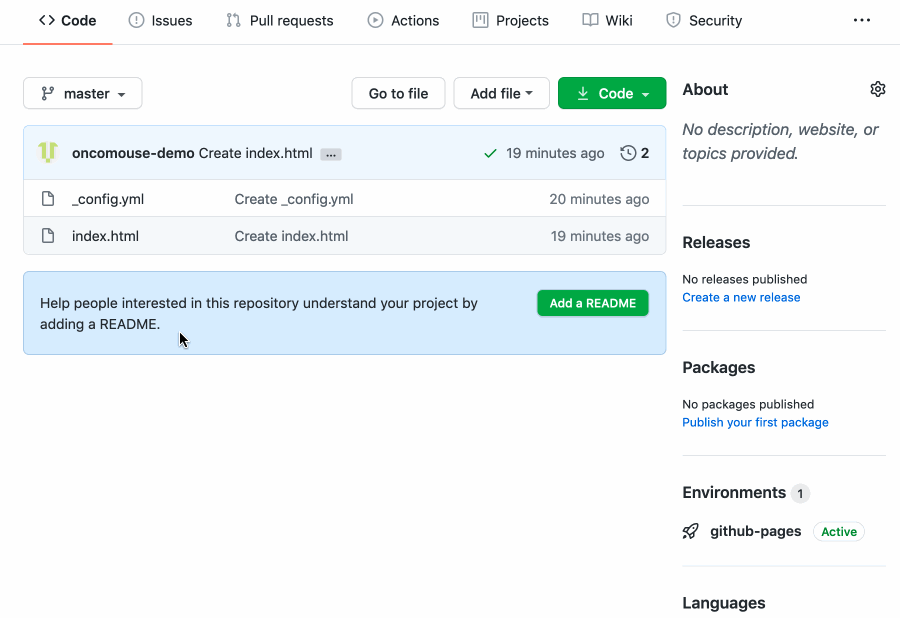
_config.yml file.Creating index.html
Having created our first file, we need to create one more before we can start blogging. It’s going to be called index.html. You can think of it as the front page of your new blog.
If you have learned HTML, the code we are copying may look a little strange. Jekyll, the blogging software used by GitHub Pages, uses some special code to turn our posts into HTML.
If you haven’t learned HTML yet, this all will probably look like a foreign language. But that’s ok, we’ll talk more about what all this does.
So on your repo, click on the “Add file” menu and select “Create new file” from the drop-down menu.
In the “Name your file” box, type “index.html”. In the file editor, paste the following code block:
---
layout: default
---
<div class="posts">
  {% for post in site.posts %}
    <article class="post">

      <h1><a href="{{ site.baseurl }}{{ post.url }}">{{ post.title }}</a></h1>

      <div class="entry">
        {{ post.excerpt }}
      </div>

      <a href="{{ site.baseurl }}{{ post.url }}" class="read-more">Read More</a>
    </article>
  {% endfor %}
</div>
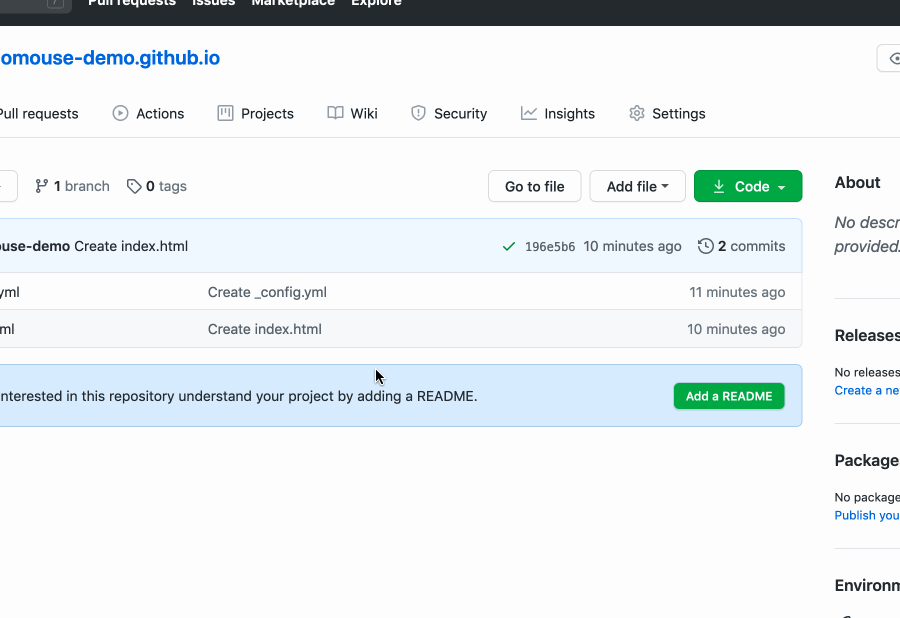
Scroll to the bottom and click “Commit New File” to commit index.html to your repo.
index.html file.Checking to Make Sure GitHub Pages Is Working
In order to start sharing our blog on the Internet, we need to make sure GitHub Pages Works.
On your repo page, click on the “Settings” tab. Scroll to the “GitHub Pages” heading.
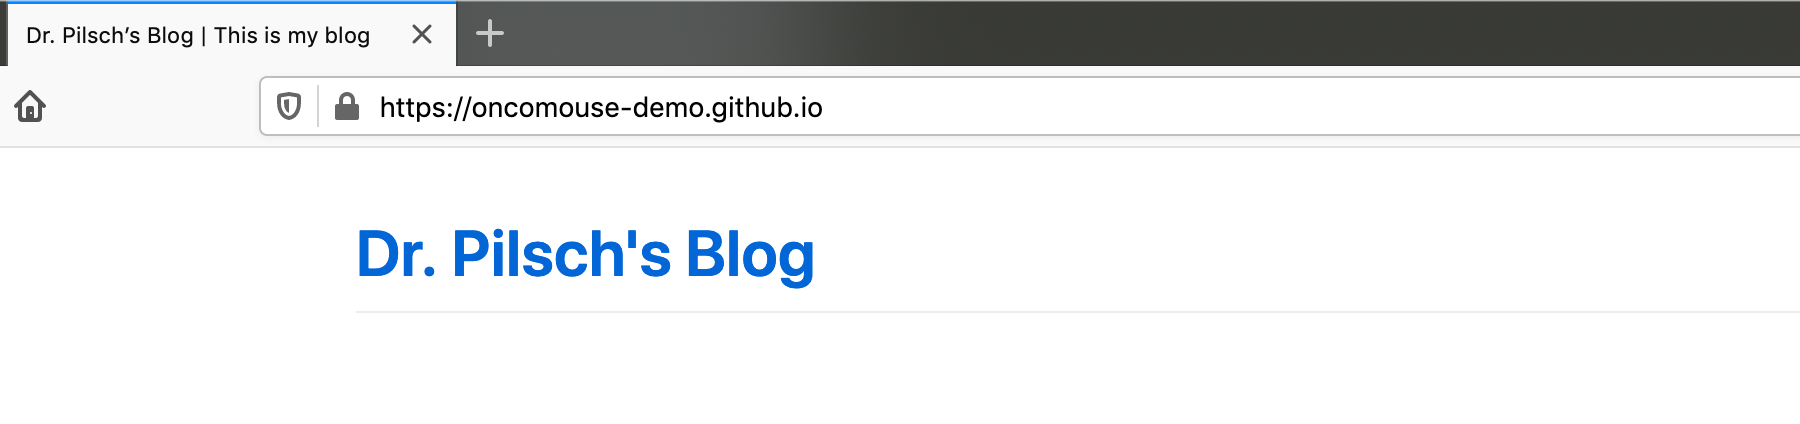
You should see a blue message saying “Your site is published at” followed by a link to your site.
Click the link and you should see your site!
If you don’t something has gone wrong. Now would be a good time to ask for help.
Customizing Site Title
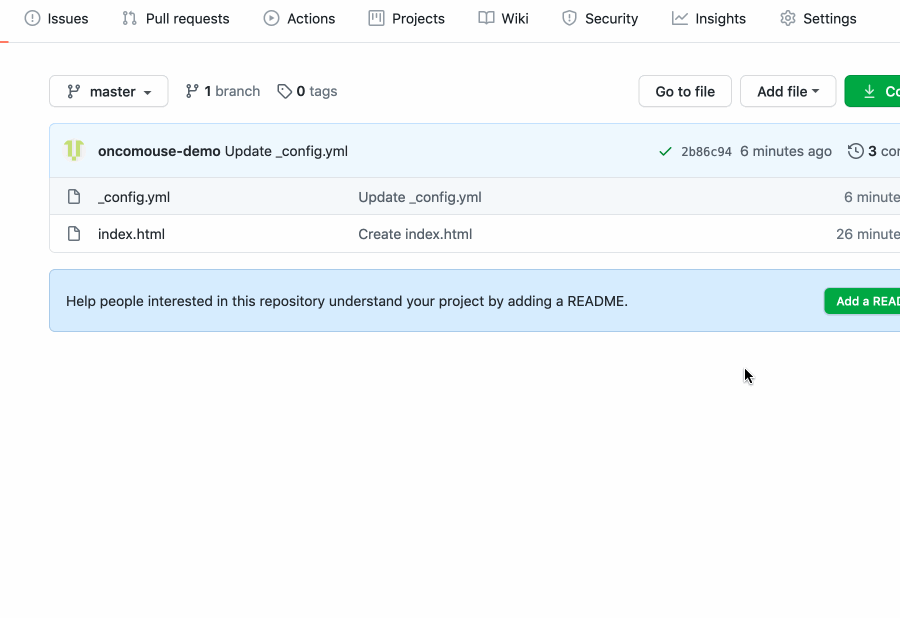
To change “Site Title” as the name of your site, we will need to edit the _config.yml file we created earlier. This file is called the site’s configuration: it contains metadata about the site that tells GitHub Pages how to display and configure our site.
To edit your file, go back to the repo main page. Click on _config.yml in the list of files.
When the page showing the contents of _config.yml loads, look for a small pencil icon on the right side of the page. It will be to the right of buttons for “Raw” and “Blame”. Clicking this pencil will let you edit the file. Click it now.
We are back in the same editor we used to create the file.
Looking at the file, you should see a line that begins with title:. This line controls the setting for our site’s title. We can change what comes after the colon (:) to change our site’s title. Set your title to whatever you want.
You can also change the contents of the line that begins description: to give your site a more accurate description.
When you are happy with your site’s title and description, click the button labelled “Commit changes”.
After the site has rebuilt (see below), you should see the results of your changes:
“My Title Isn’t Showing Up!”
Did you get excited and immediately reload your blog and not see your new title? You might be as impatient as I am!
GitHub Pages has to build your site by turning all the files we have written into a website that can be displayed in your browser. This takes time. Time that we have to wait through.
From your repo page, go to “Settings” and scroll to the “GitHub Pages” section. If you see a blue message that reads “Your site is ready to be published at” followed by a link to your site, your site is in the queue to be built. You can keep reloading the page while you wait, or you can be more patient than me and just wait.
Within at most a minute, you will see a green message that reads “Your site has been published at” followed by a link to your site, your site has been built. Click the link and you can see your new blog post!
If you see a red message, something went wrong. Now is a good time to ask for some help.
If everything is working, let’s create some content!
Your First Blog Post
Once again, we will need to create a file in our repository. This time, we will also be creating a folder!
Blog posts live in a special folder called _posts in our repo. Additionally, posts have a special file name structure, which is YYYY-MM-DD-title.md. Here YYYY would be the present year as a four digit number (2020 for me), MM would be today’s month as a two digit number (07 for me; you have to use a 0 for the first digit when the month is less than 10), DD is today’s day of the month as a two digit number (29 for me, again you have to use a 0 for the first digit if less than 10) and title is anything you want, but is usually what is called a “slug,” a representation of the post’s title using only letters, numbers, and the dash (-) character.
So, to make our post, once again click on the “Add File” menu on your repo’s main page and select “Create new file”.
On the new file page, type _posts/2020-07-29-first-post.md using whatever today’s date actually is for you (or you can just use mine from the past). I am going to title my first post “First Post” because I’m so creative and that’s why I’m using first-post as my slug. You can use whatever you want for your slug, or you can copy my totally original title.
You’ll note that when you type the / character it adds _posts/ after the name of your repo and removes it from the text box. That’s just GitHub’s way of acknowledging it knows you are creating a folder.
Copy the contents of the code block below and paste it into the file editor:
---
layout: post
title: First Post
---

This is my **first post**.

[Here's a website I like](http://seriouseats.com)
Let’s look at this file, real quick. The first four lines, the two sets of three hyphens (---) and the other two is called a YAML header. It’s written in YAML, the language we saw when we created our _config.yml file. We are telling Jekyll two things in this YAML header:
- This file contains a blog post (by setting
layout: post) - This post is titled “First Post”
This is more “metadata.” Where _config.yml provides metadata about our site, this YAML header provides metadata about the individual post. Any digital object we can see can have metadata describing it.
Below the second set of three hyphens is the body of our post, which is written in a language called Markdown. Markdown is a simplified version of HTML. We have marked first post to be bold by surrounding it with two sets of asterisks (**). The line that contains “Here’s a website I like” contains a link. The content in brackets ([ and ]) is what gets displayed to the user. The content in parentheses (( and )) is the URL for the website. Try copying and pasting your own favorite website into the parentheses and changing the content that displays to the user.
When you are happy with your first post, click “Commit new file”
Once you wait for the site to rebuild, again, you should be able to reload your site and see your first blog post!

That’s it for this tutorial. You should now have a functioning blog built on GitHub Pages and Jekyll!
Now, you may want to review the syllabus and edit the first post following the prompt for your blog check-in assignment
Editing Text in a Web Browser Stinks
If you’re wondering “Dr. Pilsch, can we do this in VS Code?” the answer is “Yes, yes we can.”
GitHub is designed as a repository for any software project, not just a blog like we are writing. The website is based around a tool called git which was originally developed to manage the core of the Linux operating system. Most open source software projects use GitHub (or the site’s main competitor, GitLab) to track and coordinate the development of software.
The core of git’s operation is in something called a “commit.” Commits are incremental changes to the repository that are bundled together to track the addition of specific changes. If commits sound scary, remember that every time you update your blog, the button you press on GitHub is labelled as “Commit to Repository.” By editing your site, you have already been building a history of commits to your blog.
Generally, these commits come from repositories that have been copied from the remote server (GitHub) to your local computer. These copies are called “clones” in git’s lexicon.
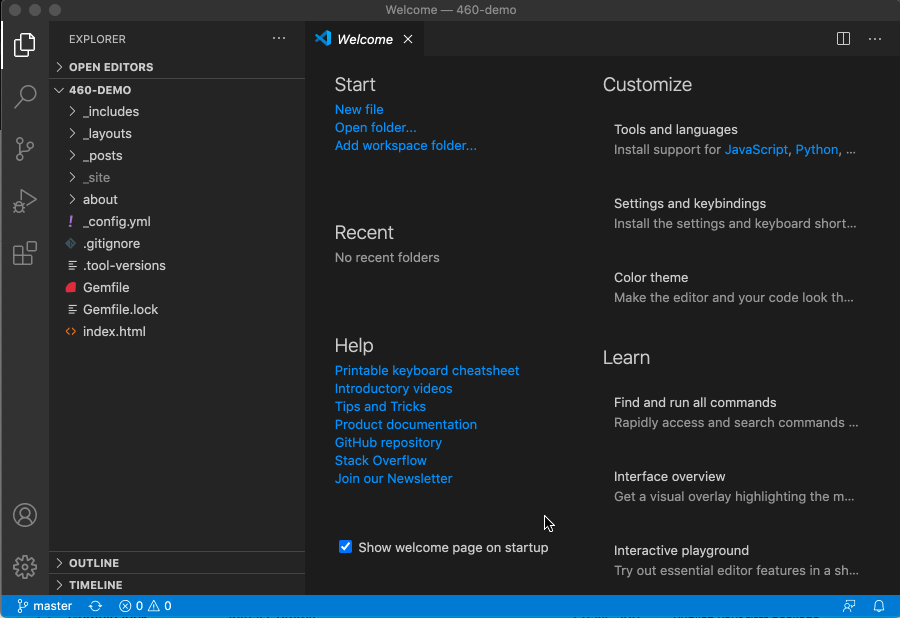
Cloning a Repository in Visual Studio Code
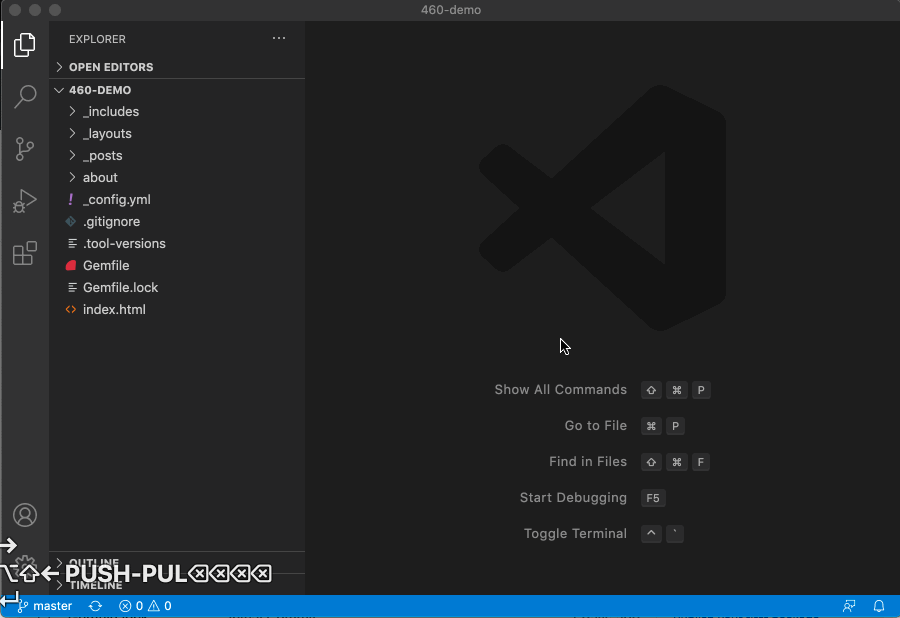
We can use VSCode to clone our GitHub repository, so let’s see how to do that now.
A core mechanism in VSCode is the command palette, which lets you search for the many commands offered by the editor. On Windows, the command palette is accessed by hitting Ctrl+Shift+P. On macOS, it is accessed with Command+Shift+P.
We can use the command palette to search for the “Git: Clone” command, so if we open the command palette and search for “git clone,” we should see the command. Highlight it and press enter. A dialog will pop up asking for the URL to clone from. Copy and paste your GitHub repository’s URL (copy the text in the browser’s location field when you are visiting your repository) into this dialog and press enter.
VSCode will now ask you for a location to clone into. You can save your repositories anywhere you wish, but by convention, GitHub clones live in a folder called Projects. So, I select my Projects directory and VSCode clones my repository. In the bottom right of the screen, VSCode will show a notification when it is finished and ask if I’d like to Open my cloned repository. Doing so, I see the contents of my repository.
Pushing and Pulling: Working with a Cloned Repository
Now that we have a local copy of our repository, we can change it as much as we want. But what happens when we finally have things working and we want to see those changes on our GitHub Pages blog?
To do this, we have to perform an action on GitHub called a “push.” Pushing is how we move changes from a clone to its remote master when we already own the repository. It’s a more convenient way to update a repository than creating a pull request, but it is only available between a clone and a remote master that we own.
Pushing a change is a three step process. We have to first stage changes, then we have to commit them to the local repository, then we push that commit to the remote repository. The first two steps, staging and committing, were taken care of for us on GitHub’s webpage. Doing them locally with VSCode, however, lets us bundle changes into chunks, if we like, and allow us more control over the shape of our repository’s commit history.
When we change files in VSCode, a button on the left side of the screen will start a count that goes up each time we change a new file. This button, which is below the icon that looks like a magnifying glass, opens the “Source Control” pane, which tracks local changes to our code. If we click on it, we see our changes divided into staged and unstaged changes. Staging marks a change as ready for publication in git. In the list of changes, clicking the “+” next to each file name will add the change to the staged changes. Clicking the “-“ next to the file name of a staged change will unstage it. You can also press the backwards circling arrow to the left of the “+” to discard changes, if you changed something that did not work.
Above this list of changes, is a field labelled “Message.” We can type our commit message here. Then we press Ctrl+Enter on Windows or
Sync performs an additional task: if others are working on the same repository as us (or if you make changes in your web browser directly on the remote master; or edit a different clone on a different computer), our current local repository will become “behind” the remote master. In GitHub, we “pull” these remote changes down to our local repository, in order to catch up to the master. In VSCode, pushing and pulling is squashed into one function called sync, so you can just use that menu option. You can also run “Git: Sync” from the command palette (Ctrl+Shift+P on Windows; Command+Shift+P on macOS).
Note: You can also click in the “Synchronize Changes” panel in the bottom menu to sync changes, as I do in the GIF. That panel will also show you how many commits ahead and behind of the remote master your repo is.
Saving is Not Committing
The biggest change from working on GitHub in your web browser to working with a locally cloned repository in VSCode is in saving. When in the browser, any time you save changes to a file, those changes are committed to your repository. Locally, changing a file just changes it locally. The changed file will be noted by GitHub as an untracked change. Only when you commit these untracked changes do you they become part of the history of your repository.
This difference means that you do not have to make a commit every time you change a file. In fact, you shouldn’t. Only commit things to your local repository when they seem to be working. Or, at the end of a work session, so that you don’t lose what you are working on.
Similarly, only push commits to your remote master repository when the local commits are all working and everything has been tested to your liking.
It is ok, even normal, to have untracked changes in your repository. It is how we build larger, inter-related commits that track the new features in our project, rather than merely tracking every time we change a file.
Getting Jekyll Working Locally
Now that we can edit locally and push our changes back to our repository, it would be nice to see what our changes looked like without having to wait for GitHub Pages to rebuild. Thankfully, we can do this pretty simply using VSCode.
First, if you are on a Windows machine, you will need to install the Ruby programming language on your computer to use Jekyll locally. You can download it here; it is pretty straight-forward to install. I broke my last working Windows machine, so I can’t demo this portion of the course, but if you are having problems with it, I can help in office hours.
If you are using macOS, you’re in luck, your computer already has a version of Ruby installed.
Ruby uses a command line interface to work. The command line is an old form of interacting with a computers, before the invention of the graphical user interface (GUI) at Xerox PARC in the 1970s and the popularization of the paradigm by Apple with the Macintosh. In a lot of ways the command line is a more powerful way to interact with a computer (I’m typing this chapter in a command line editor, for instance) but it can be challenging if you’ve never used it before.
Thankfully, VSCode builds in a terminal to the editor.
Once you, if you are using Windows, have installed Ruby, open your cloned repository in VSCode. We have to add two files to our repository and commit them, for this to work, so let’s do that first.
New Files
First, create a new file (Ctrl+N on Windows; Command+N on macOS) and add the following to it:
# frozen_string_literal: true

source 'https://rubygems.org'
# Hello! This is where you manage which Jekyll version is used to run.
# When you want to use a different version, change it below, save the
# file and run `bundle install`. Run Jekyll with `bundle exec`, like so:
#
#     bundle exec jekyll serve
#
# This will help ensure the proper Jekyll version is running.
# Happy Jekylling!
gem 'jekyll', '~> 3.8'
group :jekyll_plugins do
  gem 'github-pages'
end

# Windows and JRuby does not include zoneinfo files, so bundle the tzinfo-data gem
# and associated library.
platforms :mingw, :x64_mingw, :mswin, :jruby do
  gem 'tzinfo', '~> 1.2'
  gem 'tzinfo-data'
end

# Performance-booster for watching directories on Windows
gem 'wdm', '~> 0.1.1', platforms: %i[mingw x64_mingw mswin]
We are telling Ruby to install some libraries for us so we can use Jekyll. Save this file as Gemfile (not the capital “G”).
Create another new file and add the following:
_site/
.sass-cache/
.jekyll-cache/
.jekyll-metadata
Save this file as .gitignore (note that the file starts with a period). This file tells git to ignore some of the files created by Jekyll when it runs locally. We don’t want to commit these to our repository, as they will be generated differently, depending on which computer we are working on.
Once you have saved these two files, you can commit them to your repo and push them to your remote master.
Installing Jekyll
Now, we are going to use the command line. Command lines work by taking a series of words as programs and arguments to those programs. You type in your command and press Enter to execute the code. Everything has to be spelled correctly, capitalized correctly, and spaced accordingly. It takes a while to get used to this mode of working. Make sure you copy or transcribe the commands I provide exactly.
To open a command line in VS Code, you can press Ctrl+~ on Windows or Control+~ on macOS (note that this command on macOS does not use the command key!). This will bring up a command line window in the lower third of your right pane. There is an illustration of one below, though yours will look different than mine, as I have customized my command line quite a bit:
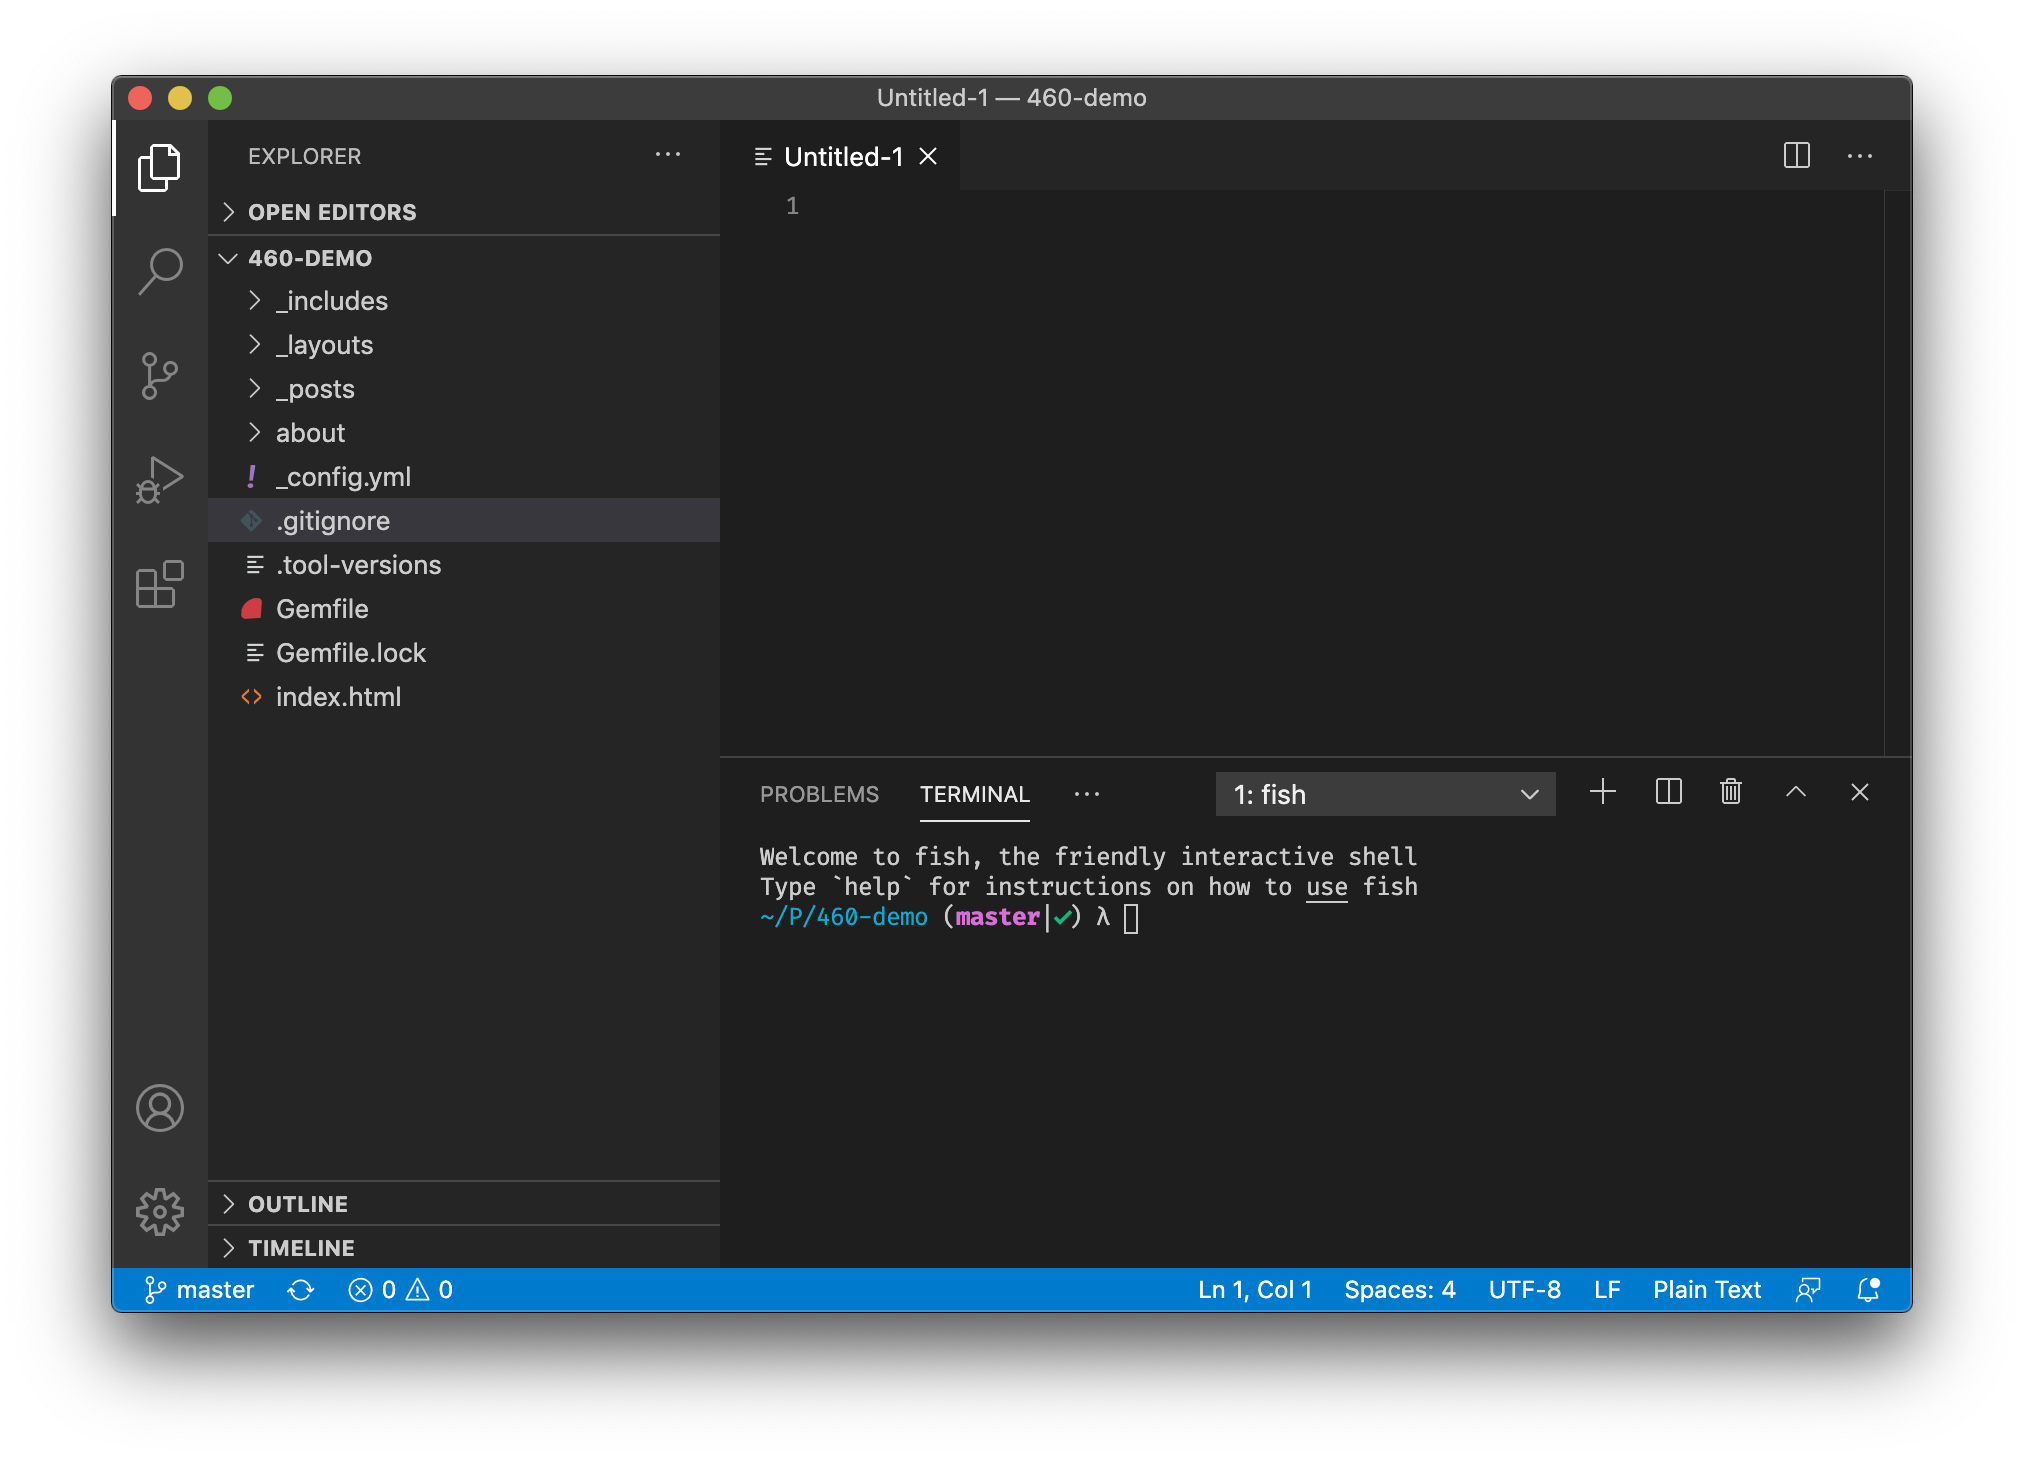
In my terminal window, there is a small white square after a lamdba symbol (λ). The white square is called the cursor, it is the current position where typed text will enter. If you do not see a cursor, the command line is still running a program and you cannot enter text yet. Some command line programs take a while to execute (we are going to execute one in particular). Also, once we start Jekyll on our computer, the program will run until will tell it to stop.
Now, to start the process of getting Jekyll working, we need to enter a few commands. First, we need to install a program called bundler, which downloads other required pieces of software. To do so, run gem install bundler from the command line you opened in your repository.
Next, we need to use bundler to install the rest of the Jekyll requirements. To do so, run bundle install from the command line you opened in your repository.
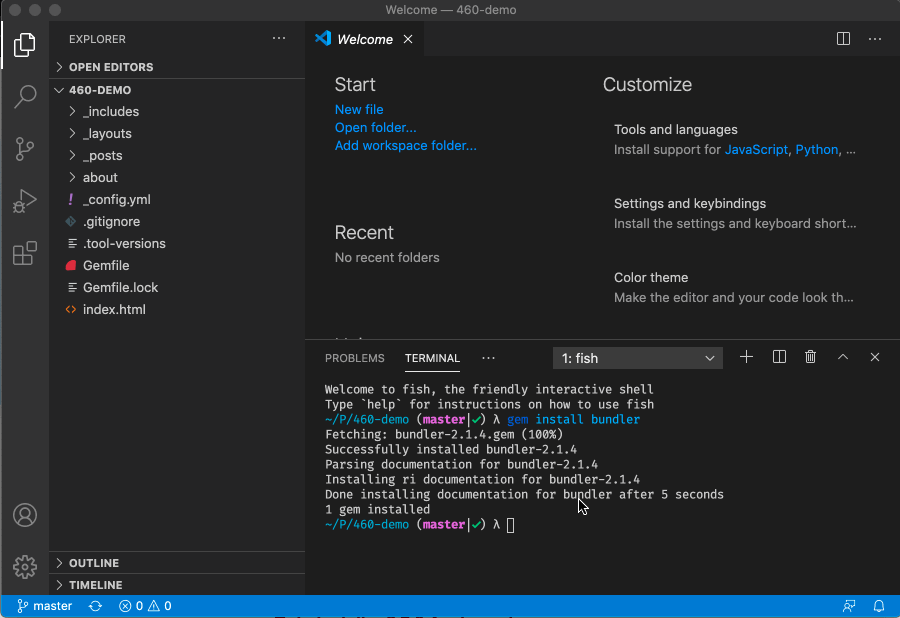
Now, we have a working installation of Jekyll!
But, how do we use it?
A Local Jekyll Server
Note: You have to repeat this step every time you work on your local Jekyll server.
Assuming everything went okay above, we should be ready to start a local Jekyll server. To do so, we run the command bundle exec jekyll serve in our command line window. This command will not return our cursor to us, instead it will start a web server on our local computer and run until we shut the server down (more on that in a second).
As you can see in the GIF above, I can hold the Command key (or Ctrl key on Windows) and click that URL in my terminal to open it, but if that doesn’t work for you, once the server is running, http://localhost:4000/ will get you to your local site.
When you make changes to your site in VSCode, those changes will be built by Jekyll and reflected the next time your reload your web browser. You do have to wait for Jekyll to rebuild the site, but it takes usually less than a second, unlike the minutes it can take on GitHub Pages.
When you are finished working on your site, typing Ctrl+C in your command line pane in VSCode will stop the server. You can also just quit VSCode, too.
You can only have one copy of the server running. If you see an error message when you run bundle exec jekyll serve that reads jekyll 3.8.7 | Error: Address already in use - bind(2) for 127.0.0.1:4000, it means you already have a server running somewhere on your computer. Find it, shut it down, and then you can start a new one.
Rebuilding Your Jekyll Site
Whenever you push new changes to GitHub, GitHub Pages’s copy of Jekyll will rebuild your site for you. So, once you have everything working locally the way you want, you can create a commit and push that back up to your remote repo.
What If Something Goes Wrong?
In addition to committing and pushing, you can also discard saved changes made in your repo since the last commit. In the same panel where we made our commit, each change also features a second button that discards local changes. Click this and any work you’ve made will be lost, but if you broke something, things will be working again!
Conclusion
You now know how to use GitHub like a professional. We learned about:
- Cloning
- Staging
- Pushing
- Pulling
Which are all git actions useful to managing complex project involving multiple collaborators, but also useful for simplifying the management of something as simple as our blogs.
We also discussed how to use GitHub remotely, by cloning and editing our repositories in Visual Studio Code.
Finally, we learned how to host a local version of Jekyll that lets us test changes to our site without having to worry about breaking things on our public website.
Further Reading
Now that you have created a basic blog, there are more things to learn. Here are some links to topics related to customizing and posting on your new blog.
- Learning Markdown
- Customizing Your GitHub Pages blog
- Advanced Customization for your GitHub Pages blog
- Jekyll documentation for Posts
- Learn how to use categories and tags on your posts
Turn In
Include the URL for your new Jekyll site in your lab report.